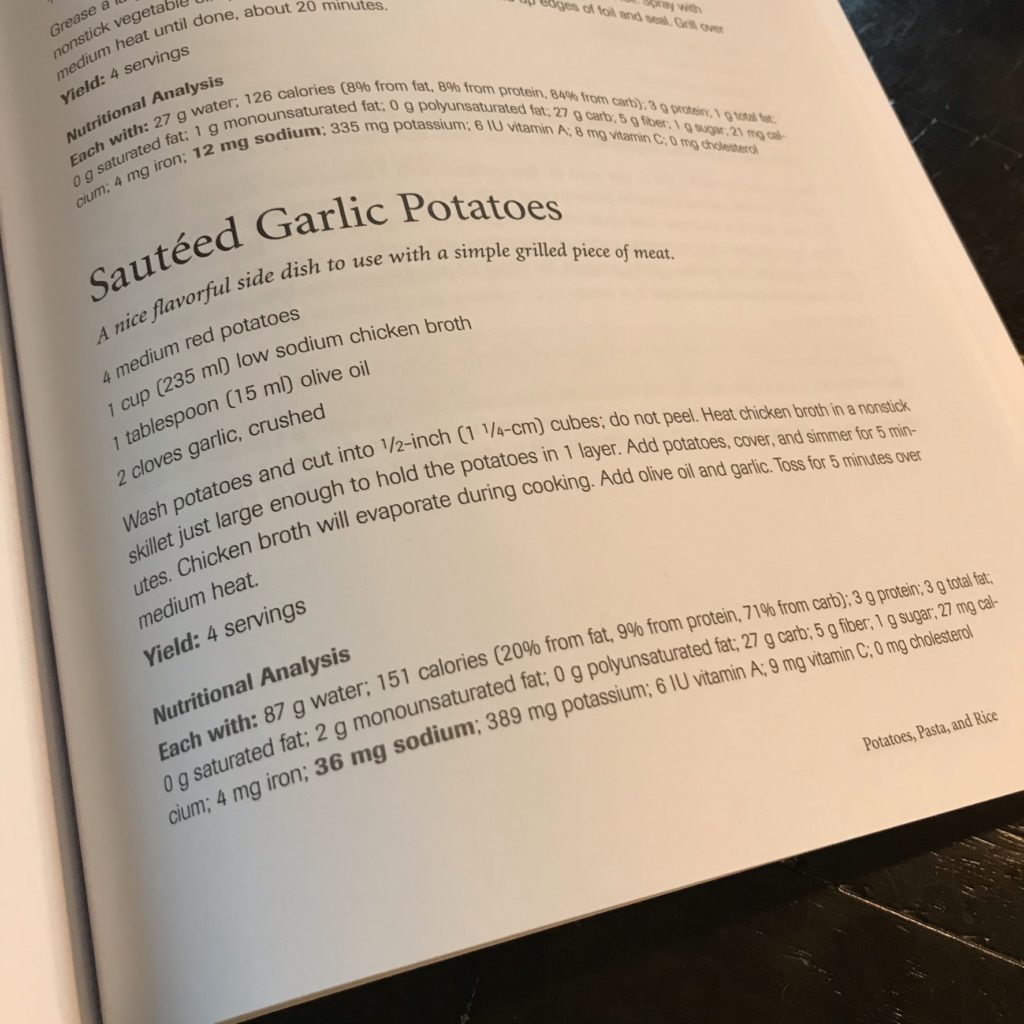
Category Archives: How To

Great Scott, It’s The Property Brothers!

Just a quick post about the most recent Maricopa County Home & Garden Show!

On Saturday October 14, 2023, I went to the Maricopa County Home & Garden Show to see twin brothers Drew & Jonathan Scott, also known as “Property Brothers”, which is their incredibly successful TV show!

The Scott bothers are originally from Canada, where they had a successful show that ended up on HGTV here in the US. Based on the popularity of “Property Brothers”, they grew their franchise to other TV shows, books and even a cartoon called “Builder Brothers”!

The audience was treated to a fun and funny show, there the Scott Brothers talked about their career, a bit about their personal lives, and gave lots of fantastic tips and advice for anyone looking to refresh or improve their current home, or new property.

After their stage show, everyone was treated to a photo opportunity, and the brothers were so kind and gracious to all who were able to stay after. After I received the picture in this post, I realized just how tall they are (or rather just how short I am)!

Thank you again Maricopa County Home Shows for the tickets, it was a fun day! 

FTC Disclosure: I received tickets as a courtesy from The Maricopa County Home & Garden Show. Although I received complimentary tickets, the opinions in this post are strictly my own.

Creating a Low Sodium Recipe with Spud Buds Potatoes!

My husband has been getting really creative with eating healthier, without sacrificing the types of food we can have or flavor. He found a great recipe book called 500 Low Sodium Recipes: Lose the Salt, Not the Flavor, In Meals the Whole Family Will Love and found one called “Sautéed Garlic Potatoes” that would be perfect for the Idaho Golden Potatoes I received from Spud Buds!

We had our sautéed potatoes with grilled marinated pork chops, and I’ve included the recipe below. If you try it, let me know in the comments, cheers!

Close up of the finished product, so delicious!

FTC Disclosure: I received produce for free, but not exclusively for a review. Although I did receive produce, the opinions in this post are strictly my own.

Je t’aime Macarons!

Can you believe I made these? I don’t know exactly when I fell in love with macarons, but it has been quite the love affair, and I finally decided that it’s time to make them at home! I’ve been baking some tasty treats lately, but I’m particularly proud of these macarons, especially considering these were my first ever attempt!

I looked at many recipes to find one that would be the simplest, but I quickly found that making macarons would not be an easy endeavor. I finally found this recipe from Tasty: How To Make Macarons, because it not only included the written recipe, but a step-by-step video along with tips to ensure you make the best possible ones. And although I followed the recipe exactly as written, I discovered a few things about the process that I will be sure to improve:

  • Follow the directions in the recipe absolutely to the letter. Do not skip any steps, including tapping the cookie sheet to release the air bubbles and allowing the cookies to rest prior to baking. I let the macarons sit for only 30 minutes after piping them and tapping them. In the future, I will let them sit for an hour before baking them.
  • Make all the macarons all at once. I made them in two separate sessions, which allowed the batter to sit for more than 30 minutes for the second batch. I will purchase an additional cookie sheet so that I can pipe them all at once, bake and cool them at the same time. I think this will allow them to rise better to create better “feet”. My second batch was not as well risen as the first batch.
  • Decrease the sugar in the buttercream filling. I followed the recipe and used 3 cups of sugar. I will confess that I ran out of powdered sugar, and only used 2 cups, but then I added another cup of granulated sugar to make up for it. I think I will only use 2 cups as the filling was too sweet.
  • Really let the macarons “bloom” for 24 hours…seriously! I had eaten a macaron not long after assembling them and it had a chewiness to it that I know is not a part of the macaron experience. I then tried the ones that I kept in an airtight container the following day, and they were absolutely amazing!

All in all, it was an amazing experience, and after I make one more basic batch following this Tasty recipe, I will get more creative and make more flavor combinations! If anyone tries this recipe, let me know. Happy baking, cheers!

Home Improvements

IMG_2045Hello and hope you had a great weekend!  I feel like my blogging has been a bit sporadic, but I promise it’s with good reason:  my hubby and I are remodeling our room!  We aren’t doing any heavy reconstruction, but we are upgrading our room design and greatly improving the aesthetics.  The idea really started with a spark of inspiration from all of the records I’ve been posting on Instagram (the “Record A Day” photo challenge).  I wanted a new record player (post here), which then lead to wanting a “listening station”.  While our boy was in Las Vegas all of last week, my husband and I went to work on the room.  We are still working on sorting through all of our things, but two sections of the room are pretty much complete.  Pictured above is our listening station (designed by my hubby), and we are still waiting for my Crosley Executive Portable USB Turntable from Wayfair to arrive (which it should as this posts).  The picture below is the mural of Paris we bought from Ikea (you’ll notice a lot of our new furnishings are from Ikea, as they are practical and attractive).  The little pictures at “The Chen Listening Station” and the mural are the places we went to on our honeymoon.  I will be resuming my normal blogging schedule soon, but I hope you all pardon the interruption!

IMG_2059Photo 1:  Kallax shelving system, floor lamp, letter tray and pictures from Ikea; coffee cup clock from Bed Bath & Beyond; table lamp from Walmart; all records are from our personal collection (the ones on the wall are from my husband’s collection)

Photo 2: Expedit shelving system, mural, bed and bedding from Ikea (headboard custom made by me); clock from Walmart

How To: Pom Pom Purse

DSC00074 (2) (1280x1280)

Ages ago, I vowed to try my hand at making a pom pom purse ala PS I Made This and my friend Sara (my original post here).  I know that was a few seasons ago, but now that it’s winter, it seems appropriate to bring it back up again.  In my previous post, I was going to add pom poms to a black vinyl purse that I had where the embelishments started to fall off.  I changed my mind, and decided that I would actually use a very cute vintage tweed purse that I purchased on Ebay nearly 7 years ago.  It’s been sitting in my closet and I was trying to figure out whether I should just add vintage brooches or appliques to it, or maybe even studs.  Because I chose pom poms that were in browns, tans and yellows, I thought that it would fit this purse very well.

DSC00073 (2) (1280x1280)

Also, rather than use a glue gun, I opted to use a fabric glue, to ensure that the pom poms would stay put (I found Aleene’s Fabric Fusion at my local Michael’s).  I first stragetically placed all the pom poms generally where I would like them to be, then used the fabric glue to stick them all in place.  To ensure that they adhered correctly, I made sure to add the glue to the pom pom, then pressed the adhesive side down onto the purse.  I held it there for a few minutes before moving on.  The glue actually dried fairly quickly and I was able to get through the purse in just about an hour.

Check out the finished product (below); I think it worked out quite well!  This was a very simple and fun way to re-work a purse that would otherwise have been relegated to the back of my closet or a donation bin.  An outfit post featuring this purse will be up next!

DSC00075 (2) (1280x1280)

Do It…If You Want To!

IMG_4819 (2) (1280x1280)

I’ve been home quite a bit these past few months, so I have had a lot of time to spend with my son, apply for jobs, and work on my home.  In addition to also having a bit more time to work on my blog, I’m finding that I’m picking up on a few projects that I’ve begun but never finished.  I’ve posted some of my adventures in baking in December, so here is a sneaky peek at just a couple of crafty things that I’m working on right now.  I’ll be sure to include instructions on how to do each of my projects, in case you like what you see.  My mantra for this year: DO IT YOURSELF!

DSC00073 (2) (1280x1280)

Holiday How To: Pine Cone Christmas Tree

SONY DSC

Pine Cone Christmas Tree by Mei-Lin Jiao

My niece brought this pine cone Christmas tree project when I picked her up from school recently, and I thought it was completely adorable!  I remember a time a few years ago during the holidays, when I first moved out of my house right after college.  I came home to visit my parents and was greeted by the smell of pine.  As I entered the kitchen, I saw dozens and dozens of pine cones.  As I made my way towards the family room, the amount of pine cones multiplied.  My mom decorated those pine cones with glitter and hung them up everywhere: on the Christmas tree, on the garland on the walls and doorways, in bowls and vases.  In addition to those sparkling conifer cones, I think my mom could have added an array of these pine cone Christmas trees.  With just a few more days before Christmas, I included the instructions for this festive and easy DIY.  Have a great weekend!

Pine Cone Christmas Trees

By Jane Lake

Turn pine cones into pretty miniature Christmas trees with three easy steps in this free Christmas craft project.

Craft Supplies for One Ornament:

  • fully opened, dried pine cone
  • assorted beads, small silk flowers or other small embellishments
  • soda bottle cap or metal bottle cap
  • green acrylic craft paint and a paint brush, or green spray paint
  • craft glue
  • tweezers
  • optional:  glitter or glitter glue

Project Instructions:

1.  Paint the pine cone completely green.  If desired, you can add sparkle by dusting the pine cone with glitter while the paint is still wet.  Alternatively, wait until the paint is dry, then randomly add glitter glue to the tips of the pine cone.

2.  Glue the bottle cap to the bottom of the pine cone.

3.  To add beads, small silk flowers or other Christmas embellishments, use tweezers to dip each piece into a small puddle of craft glue, then into a space on the pine cone.  Make sure that you push each bead or embellishments firmly into place.

(From AllFreeCrafts.com)

How To: 45 RPM Adapter Earrings

When I had a record player, I had various incarnations of these 45 rpm adapters lying around.  The one pictured here on my “People are People” single has become a symbol of music enthusiasts.  I originally purchased these as earrings from a jewelry designer at a a craft fair a few years ago.  Because the guage of the wire used to attach the earring hooks was so light, they broke after one wearing. Inspired by one of my blogger friends and favorite DIY mavens, Madison of Fashion Tales, I decided to repair them using some jewelry making supplies I bought a few months ago.  The bright yellow color made them perfect for this summer and any upcoming concerts or festivals that I’ll be attending.  I think I’m going to hit up my local DJ supply store and make a few more of these earrings!

Step 1. I used a long post & earring hook from a jewelry making kit.

Step 2. I then used a pair of precision pliers to attach the post to the earring hook, then wrapped the other end around the top of the adapter.

Instant earrings!

More Holiday Goodness: Pumpkin Pasties

On Christmas Eve, I tried my hand at these “Pumpkin Pasties” that I first saw on WordPress’ “Freshly Pressed” as “Two-Bite Pumpkin Pies”. I used the recipe from “Three Baking Sheets to the Wind” (seen here). Thinking I only had to use the canned pumpkin (complete brain lapse), I didn’t actually buy all of the correct ingredients on the can to make the pumpkin pie filling. I was lucky that I had been baking quite a bit for the past few weeks, so I had additional ingredients at my disposal.  I only had to make a few substitutions:  nutmeg for the ginger and whole milk for the evaporated milk. It ended up just as good! I also didn’t have a cookie cutter to cut out the pie crust circles, so I just used a glass with a 4 inch opening which yielded 8 circles. I rolled the remaining dough and was able to cut out 4 more circles. I brought the pasties to our family Christmas Even get-together and served it with Cool Whip. It was a holiday hit!

Holiday Fun: My First Cookie Exchange Party

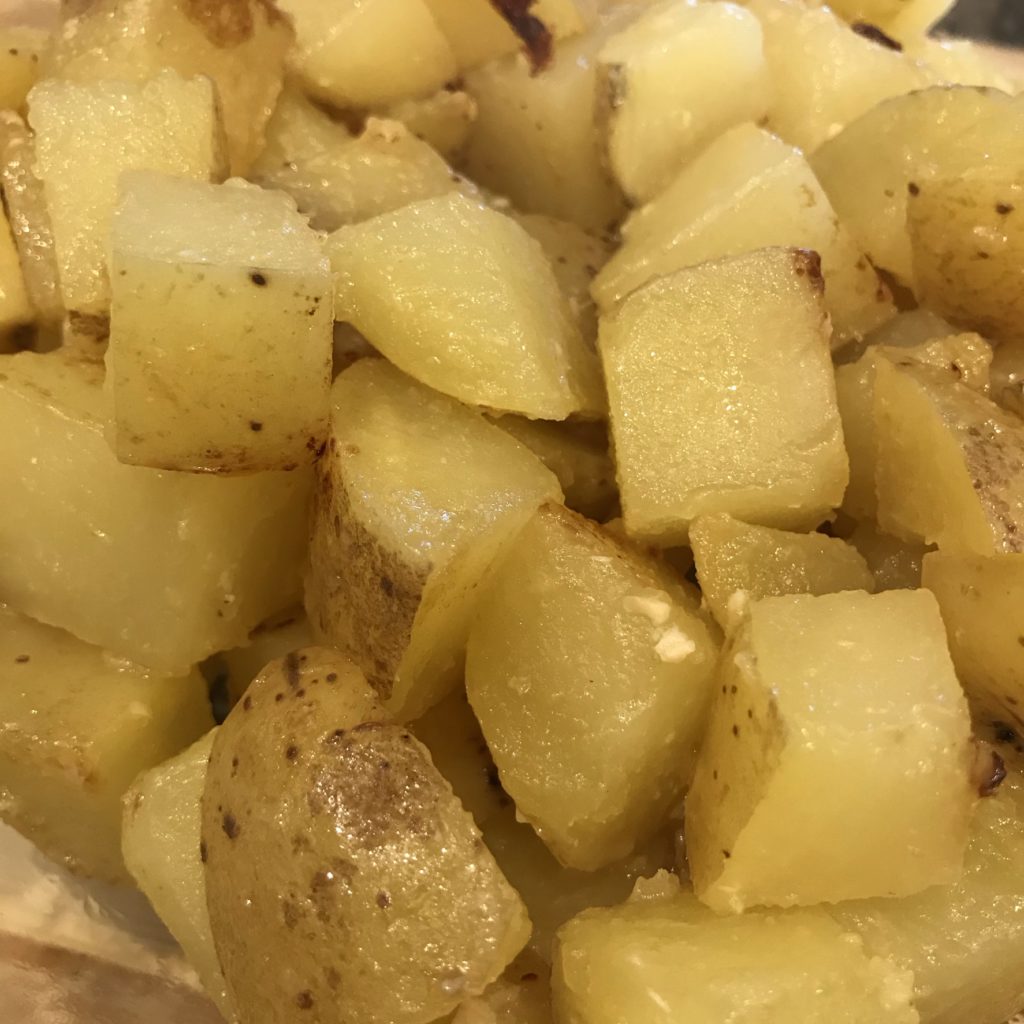
This past Saturday, I attended my very first “Cookie Exchange Party”, hosted by my friend Tiffany.  The Evite stated to bring two dozen cookies that you’ve baked from your favorite recipe, plus bring samples for tasting.  If you don’t have a favorite recipe to make cookies from, bring a baked good to share.  Prizes were given out for best recipe and best presentation.  I guess I still didn’t understand just to what extent the guests would go to make their cookie presentations, as you can see from the pictures below.   I baked the Eggnog Cookies (recipe here) and brought them in a regular “bake and carry” tin, nothing fancy (see picture above).  Big mistake!

Along with the fantastic display of cookies for the exchange, we had a couple of wonderful presentations.  One was from Lisa ONeill, a consultant for “The Pampered Chef“.  The company is a “premier direct seller of high quality kitchen tools” and we were introduced to a few of their products.  I ordered a few things, and pictured here is one of my favorite products, called a Scoop Clip.  It’s a clip for your coffee bag that is also a dual measuring scoop.  To me, that’s one of the most perfect “all-in-one” gadgets I’ve seen in a while.  Also presented at the party were a few appetizers from the recipe books available from their catalogs, which were all so good.

The second presentation was from Lucinda Villanueva, a sales representative for Megawine.  She brought a few wines from their catalog, all of which they sell by the case at a great price.  I got a chance to chat with her about Port wines because I have not had one yet, and I heard they are great dessert wines.  The Port I tried was one she suggested I taste with chocolate and to let her know what I thought of it. 

Alone, I could taste the fruit in the Port and she also mentioned it was a bit nutty.  I could also taste a bit of a bite at the end.  But after I tried it with a Chocolate Espresso cookie (made by my friend Erika), the wine enhanced the chocolate, and the chocolate enhanced the wine.  The Port made the chocolate more defined and in turn, the wine became more sweet.   It was fantastic!

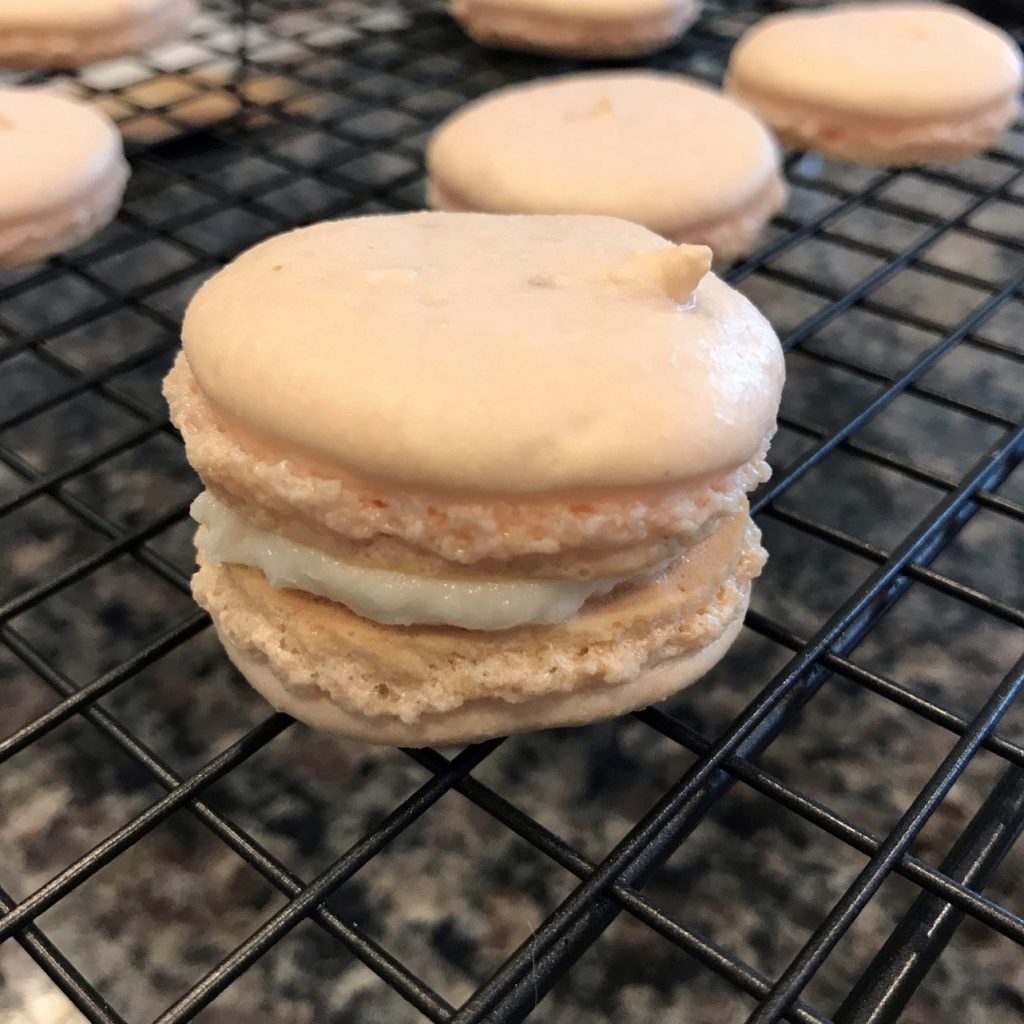
All in all, it was a great experience.  Not only because it was food and wine with good friends, but because it shows the creative side of everyone at the party.  The cookies were all tasty and the presentations were beautiful, which means I have to step it up a notch when I make my presentation at next year’s cookie exchange.  I consider myself to be very creative, and the little pan I brought my cookies in this year was put to shame by every single tray of cookies in the room that night.   Lessons learned from my very first cookie exchange.  To host your own “Cookie Exchange”, you can follow Tiffany’s lead as outlined in this post, or you can also follow this great Better Homes and Gardens article here.  Finally, here are a few more pictures of the delicious cookies from the evening. 

(The following photos were all taken by Tiffany Kaechele)

To get in touch with Lisa ONeill from The Pampered Chef and Lucinda Villanueva of Megawine, please contact me through my “Contact” page.