Category Archives: How To

Making a Clutch Purse: Putting it Together…Maybe

I know I haven’t posted about my progress with my project on making a clutch purse (see the beginnings here).  I clearly meant to start it while my boys were in Las Vegas just before Thanksgiving, but I ended up doing a lot of cleaning rather than working on the purse.  It’s always easier to really dig into a deep house cleaning when your toddler isn’t around to get into all of the cleaning products and tools.

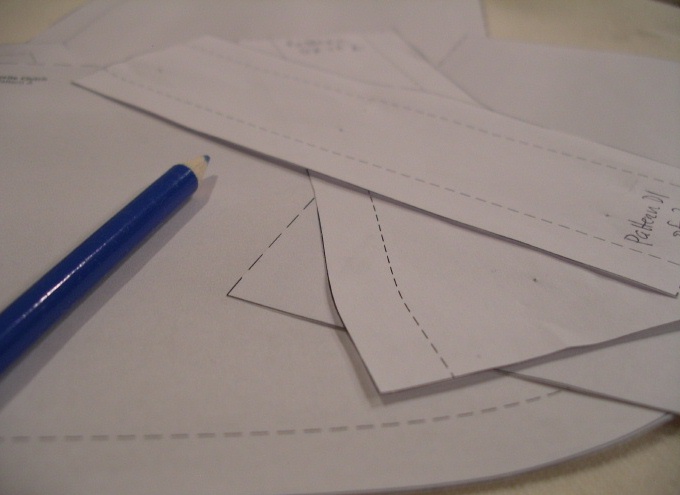
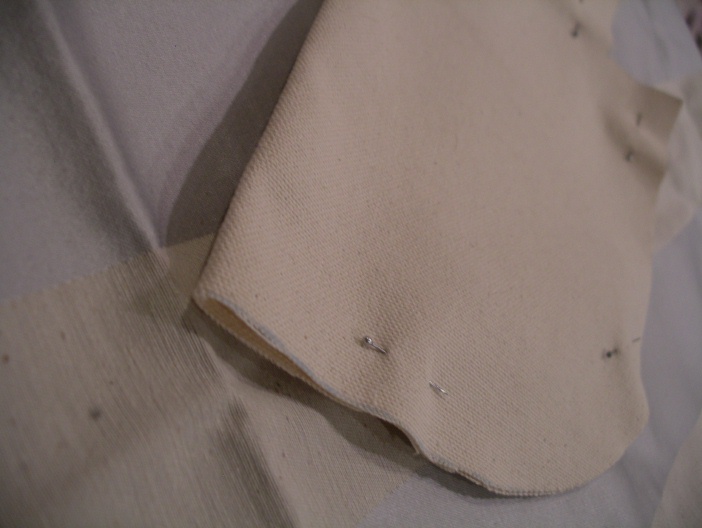
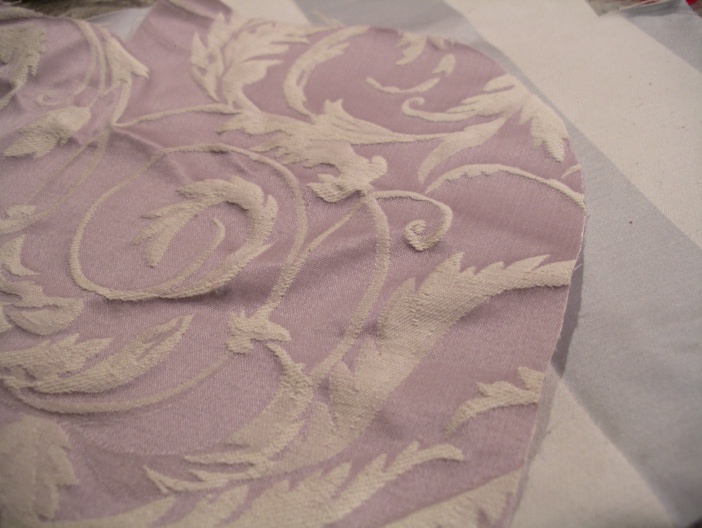
The update of where I am with the project is that all the fabric is cut and just waiting to be put together.  I fully intend to continue the project within the next week or so.  I have some found time coming up so I will use that time to take out my semi-new sewing machine (used only a few times) and finish up this project before the end of the year.  I want to ring in the new year with my new little clutch purse.
Making a Clutch Purse: The Humorous Side of Getting Started

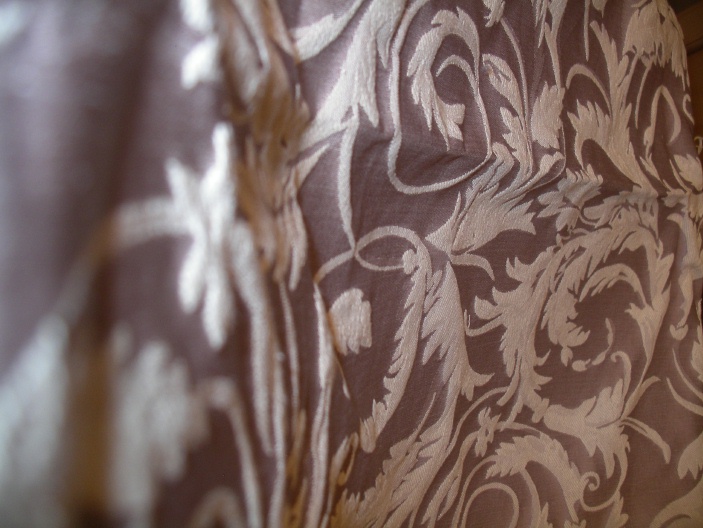
I wanted to creatively challenge myself with a project while my son and husband were away for a few days in Las Vegas (I will be joining them later in the week for Thanksgiving at his parents house).  After my friend gifted me with a handmade velvet drawstring purse (seen here), I decided that I would try my hand at making a clutch purse.  I found a great pattern on Better Homes & Gardens:  Clutch Purse with Antique Pin Closure.  I had very pretty heavy fabric remnants left over from my “French Boudoir” bedroom project that have been sitting around for awhile.  I just couldn’t bear to throw them out, so I’m glad that this project has given these bits of pretty fabric new purpose.

On Saturday, I went to my local JoAnn’s Fabric and Craft store to pick up some materials that I needed in addition to the fabric I already had.  As I was waiting for the clerk to cut the interfacing fabric at the cutting table, I asked where I could find an item that I needed.  Here is how the conversation went:

Me to the store clerk:  “Excuse me, do you have ‘3/4 inch wide sew on hook & loop tape’?”
Clerk:  “I’m not sure what that is…”
Customer next to me in line:  “That would be ‘Velcro’.”
Me & the clerk:  “Ah…”

Does that bode well for my project?  I cut all the fabric, so I guess I’m in too deep now.  Barring any other little mental pauses, I will be posting pictures as I complete this seemingly daunting project.

Holiday Goodness: Eggnog Cookies

I saw this recipe by Lauren Conrad (“The Hills”) in my latest People StyleWatch.  I love the Starbucks Eggnog Latte, so I’m up for anything with eggnog in it.  I always tend towards very fragrant recipes for my desserts and this one is right up there.  My whole kitchen smelled of nutmeg and cinnamon goodness.  These little cookies taste even better than I could describe.  I guess you could say they’re like a gourmet Snickerdoodle.  Either way, this is just about as perfect a holiday cookie as you can get.

EGGNOG COOKIES
 
2  1/4 cup flour
1 tsp baking powder
1/2 tsp cinnamon
1/2 tsp + 1 tbsp ground nutmeg
1  1/4 cup sugar
3/4 cup salted butter, softened
1/2 cup eggnog
1 tsp pure vanilla extract
2 large egg yolks

Preheat oven to 300 degrees F

In a medium bowl, combine flour, baking powder, cinnamon and 1/2 tsp nutmeg. Mix well with a wire whisk and set aside.

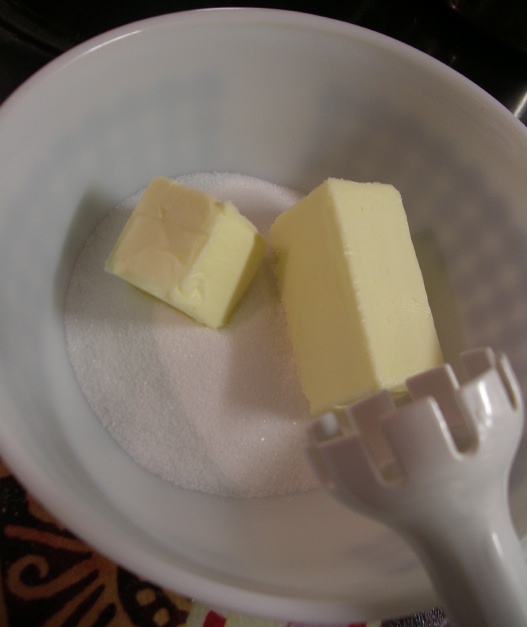
In a large bowl, cream sugar and butter with an electric mixer to form a grainy paste. Add eggnog, vanilla, and egg yolks. Beat at medium speed until smooth.

Add the flour mixture to the eggnog mixture, and beat at low-speed until just combined. Do not over mix (Note: I just folded the ingredients and did not use a mixer).

Drop by rounded teaspoonfuls onto ungreased baking sheets (Note: I did grease the sheets with the remaining salted butter), 1 inch apart. Sprinkle lightly with 1 tbsp nutmeg.  Bake for 23-25 minutes or until bottoms turn light brown.

Immediately transfer to cool flat surface with a spatula.   Makes 2 dozen.

Enjoy! 

Hand Knit

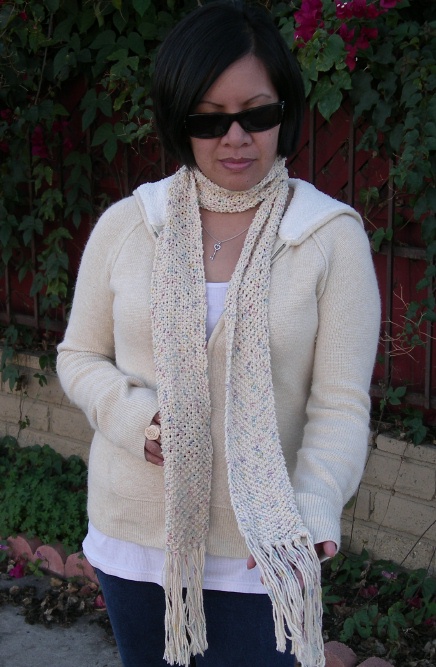
Once upon a time, I learned how to knit. Sara, one of my dearest friends, was knitting like a bandit a few years ago.  She made me a couple of scarves, and I absolutely fell in love with them.  As a gift, she bought me the book “Stitch ‘N Bitch” as a tribute to my getting started, and off I went. I think I knitted 20 scarves that year for Christmas or birthday gifts. I vowed to move on from there to start knitting hats, arm warmers, blankets and sweaters (eek)!

I never moved past the scarves.

I recently wore a pair of knitted arm warmers I bought from Topshop around five years ago, and someone asked me if I made them. Sadly, I had to admit that I didn’t, but now I feel like I should know how to make them!  I’ve also been seeing the “Infinity” scarves everywhere in all kinds of incredible knits, and I know in my knitting heart of hearts that I can make those.  I’m going to practice my stitches again, starting with a garter stitch scarf (because that is the easiest stitch), just to get back into the groove of knitting again.  Once I get the hang of it, I’ll be able to really let my creativity flow.

This really isn’t a true “How To” in that I’m not showing you how to knit anything.  However, here are some pictures of a couple of scarves I made a few years ago.  I’ll also start posting pictures of knitted things that I like and aspire to make someday.  I’m also starting some new projects that I’ll share with you all in the next few weeks (not all knitting, but just as creative). 

Photos by Deon Chen

House of Cards: “How-To”

Here are the easy steps on how you can make your own greeting cards at home.  I’ve been making cards for around 8 years now, and I seldom buy greeting cards unless in an absolute emergency (because I’m not near my house) or due to pure laziness.  If you like to scrapbook and create with rubber stamps, you will enjoy making greeting cards.   

What you will need to get started:  Rubber stamps, ink, a paper-cutter, scissors, adhesive (I use a Hermafix dispenser), printed scrapbook paper, card stock, colored construction paper, mounting tape, embellishments (such as stickers)   

Note:  Sometimes it’s hard to come up with new designs on the fly, so to help save time and spark creativity, I purchased a themed scrapbook page making kit (which included cut outs, printed paper, flat and raised stickers).  Also, most of my rubber stamps and ink are from Stampin’ Up (others are from my personal collection).  Most of the paper products and tools were purchased at Michaels.  

Tools of the trade

1. For this card, I cut the printed scrapbook paper with a paper-cutter to the size of the bottom of the blank card

2. I affixed the cut out to the bottom half of the card using a Hermafix adhesive dispenser

3. Use a saying to stamp the inside of the card (I used a Stampin' Up rubber stamp and ink)

These are some rubber stamps I've collected from all over the world (and Stampin' Up!). I use these to show the cards are created and designed by me!

4. Stamp the back of the card with a personalized stamp and sign your name (optional)

5. After adding all the stamped images (it's better to do the stamping on a flat surface), I added a raised sticker as a final decorative touch. Instant birthday card!

Home Brewed

Everyone is trying to save a little here and there, including myself.  Rather than going out on a regular basis to coffee houses to get that specialized espresso drink, try making a home brewed version.  Because of my love of anything coffee related, some of my friends used to think that I have a really pricey espresso machine at home.  I actually have a more inexpensive way to get the kind of caffeinated drink I like whenever I want.  My aunt who lived in Italy for many years (but now lives in Toronto) said this is the only way they made espresso, and was pleasantly surprised to see this is how I make my espresso when she came to visit.

Here’s an idea of how much you can save:  A great new machine from Illy called the Capresso Café Espresso and Cappuccino Machine costs around $159 and uses the E.S.E. pods (pre-filled), as well as regular ground espresso (coffee not included).

Total cost for my home brewed version, including coffee (Ground Espresso Dark Roast $28 for a pack of 2 cans on Illy.com):  $50

The Moka Pot is used to “cook” the espresso on the stove top (basically a percolator).  This sized Moka Pot makes around 4 shots of espresso (1 cup).  Bialetti Moka Pot $20 on Illy.com 

 This battery operated device is from Ikea and will froth milk, making it foamy (for you mommies out there, you can also use it as a formula mixer!).  Produkt Milk Frother $1.99 on Ikea.com.

To create your favorite espresso based drink:  Make the espresso using the Moka pot on the stove top (1 heaping tablespoon of ground espresso, 1 cup of water), medium heat to prevent boiling over; remove from heat once the liquid fills the top portion of the pot.  Heat the milk in a microwave safe cup for about 1 minute, then froth.  Add shots of espresso and flavored syrup to taste (my favorite is Torani).  Serve hot or add ice and enjoy! 

Razzle Zazzle

Mei-Lin and her mama

I’m definitely one for making gifts rather than buying them, but sometimes the time and energy is just a bit much.  Still, I enjoy the satisfaction of giving something of my own design and creativity.

For Mother’s day this year, I designed a t-shirt for my sister on Zazzle.com.  I didn’t want to make the typical picture on a shirt design, so I “rocked” it up a bit by choosing a baseball style shirt, used a black & white version of a picture I took of my niece and added “Mum says I ROCK!” for more of that Brit flair.

I was very happy with the result!  I have one that I made of my son as well (I’ll post it later).  I took a picture and submitted it to Zazzle’s blog to get a coupon on my next purchase (my mom wants one, too), and I received an email that they would post it to their site at some point.  Click on the picture on the left to be taken to their blog and you’ll see my sister and her daughter on Zazzle’s website (you have to scroll down a bit to the July 2 entry, under “Foto Friday”).

(Isn’t my niece cute?  She definitely knows how to pose for the camera.  Believe it or not, I didn’t teach her that.)

Photo by Cyrillynn Chen